Saturday 23 July 2016

Items with Henna Art / Mehendi Art

Mehendi or Henna design on hands are very popular and famous all over world. Next to this I think Henna design on candles are very popular among decor enthusiasts, DIYers, art and craft lovers. So I thought of making henna designs on different varieties of items. 

Steps I followed are: 
1- Applied a coat of oil based white colour paint and left it to dry for more than 24 hours.
2- Made some designs by using normal ready made Henna cone. Got it from market by spending only 10 rupees. 
3- Left it to dry for 4-5 hours and then applied a coat of touch wood. I think mod podge will also work. 


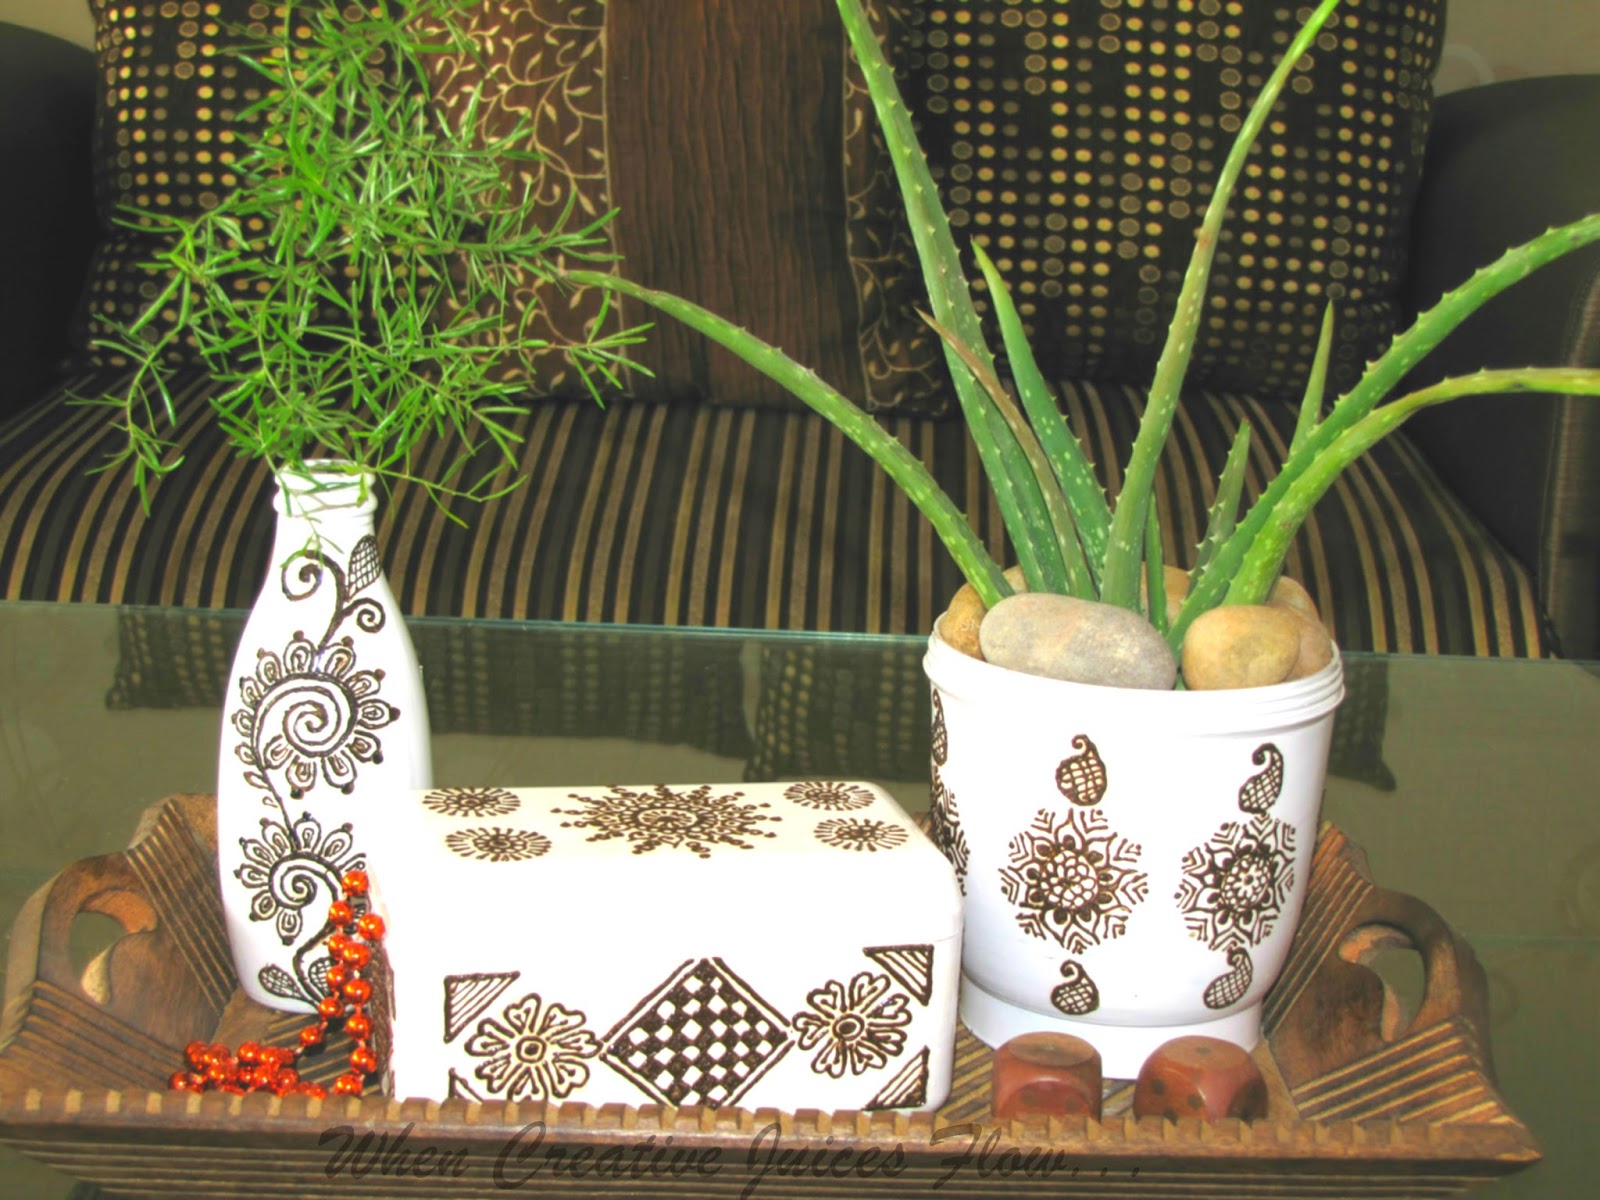
Here are the items.. 
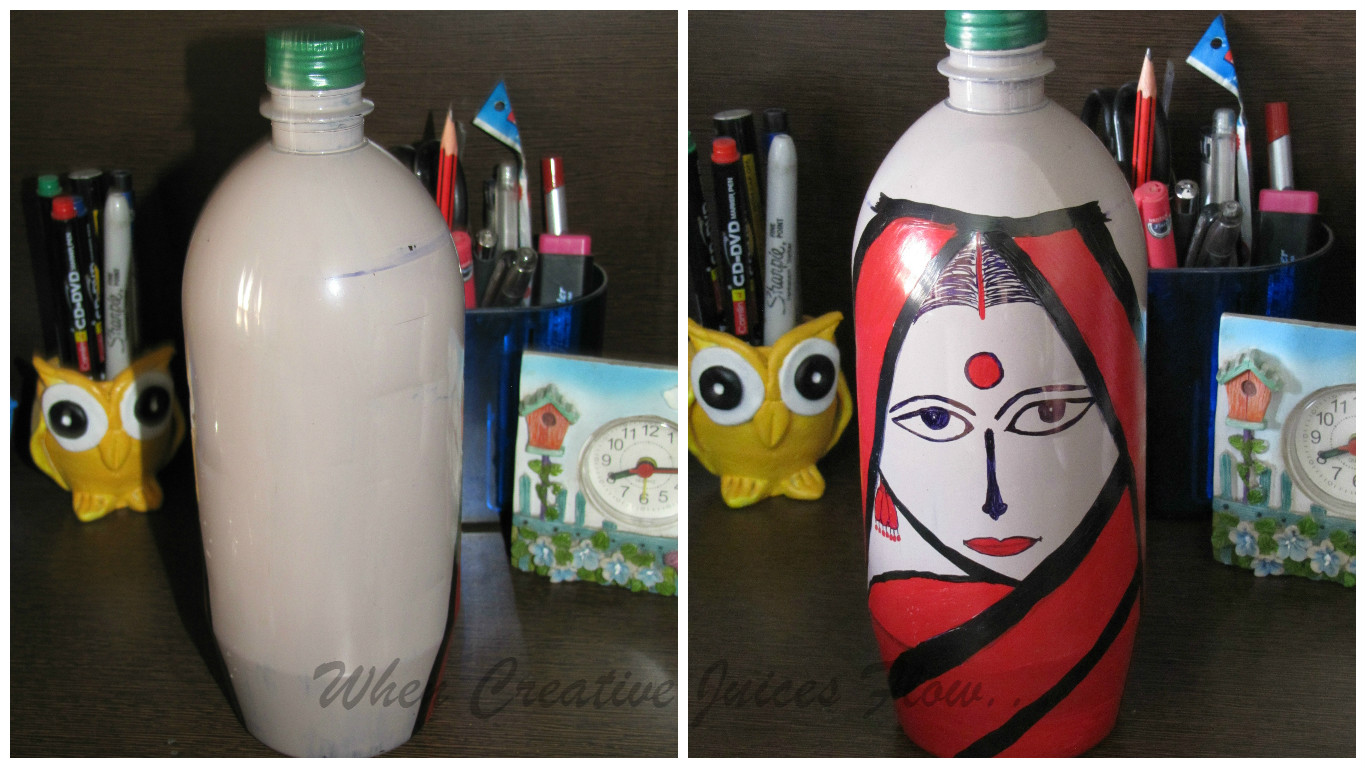
My first obsession, love for bottles *smile* 
A Ferrero Rocher choclate box, has now become a beautiful jewelry box.
A plastic pot got converted into a small planter...
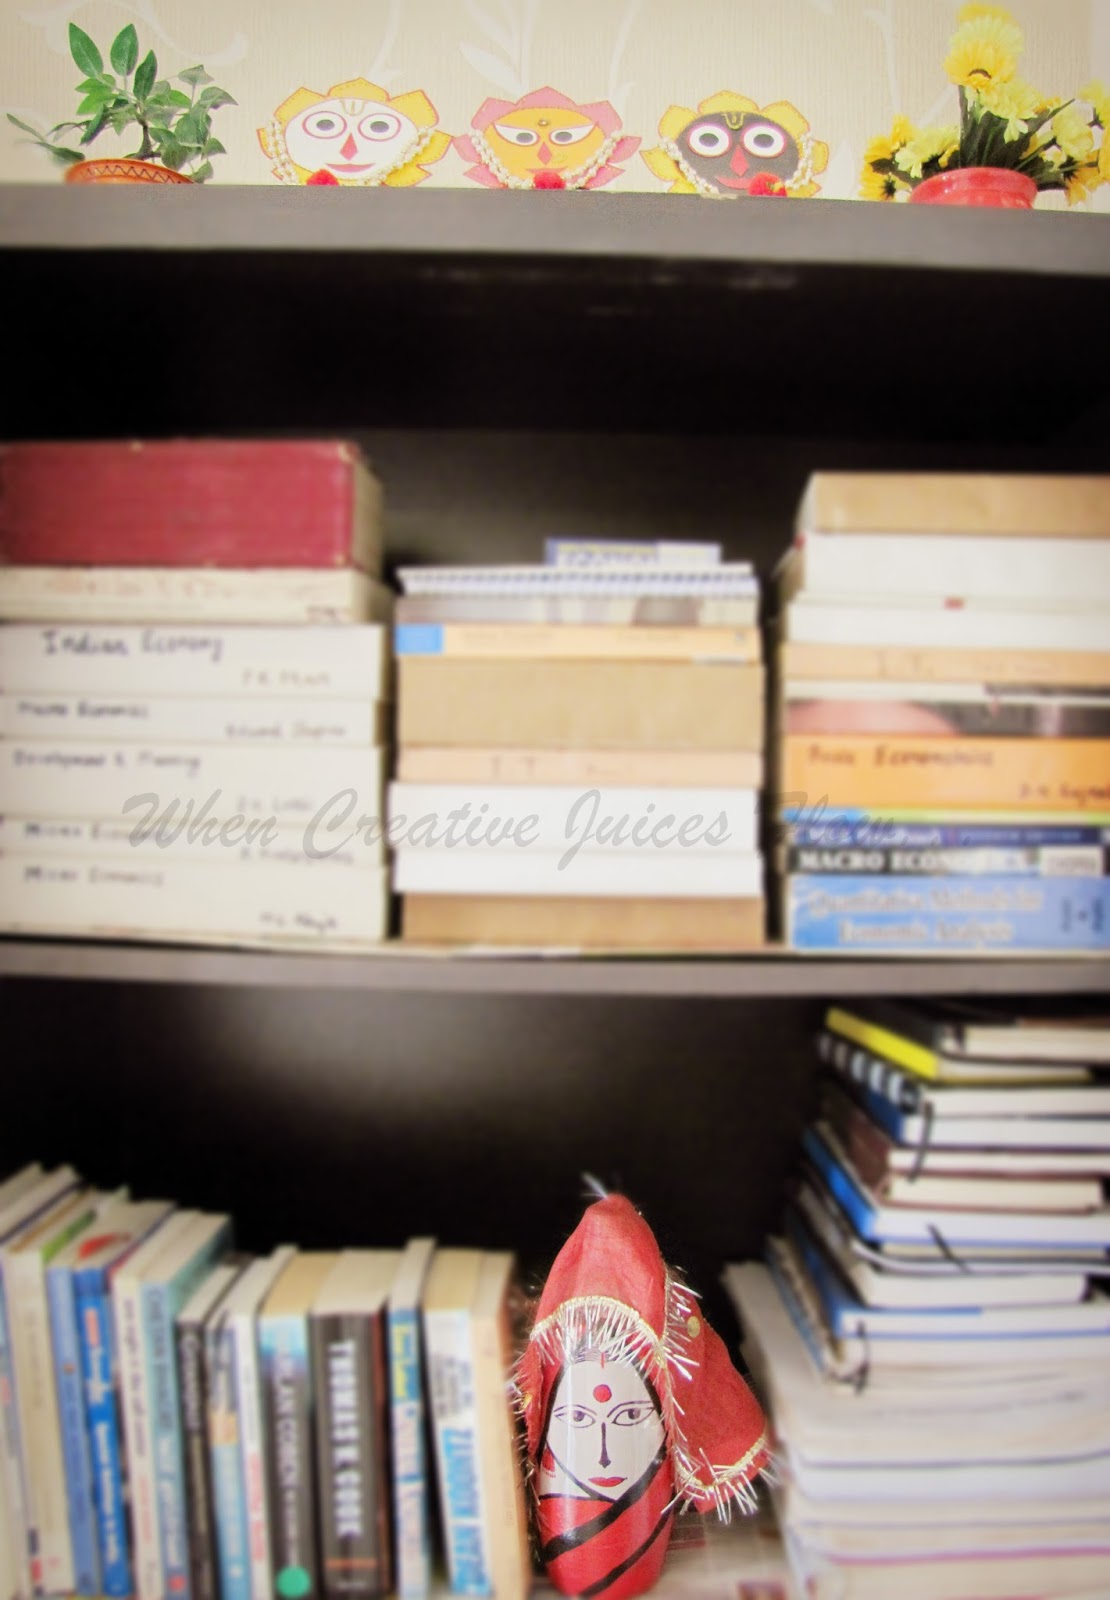
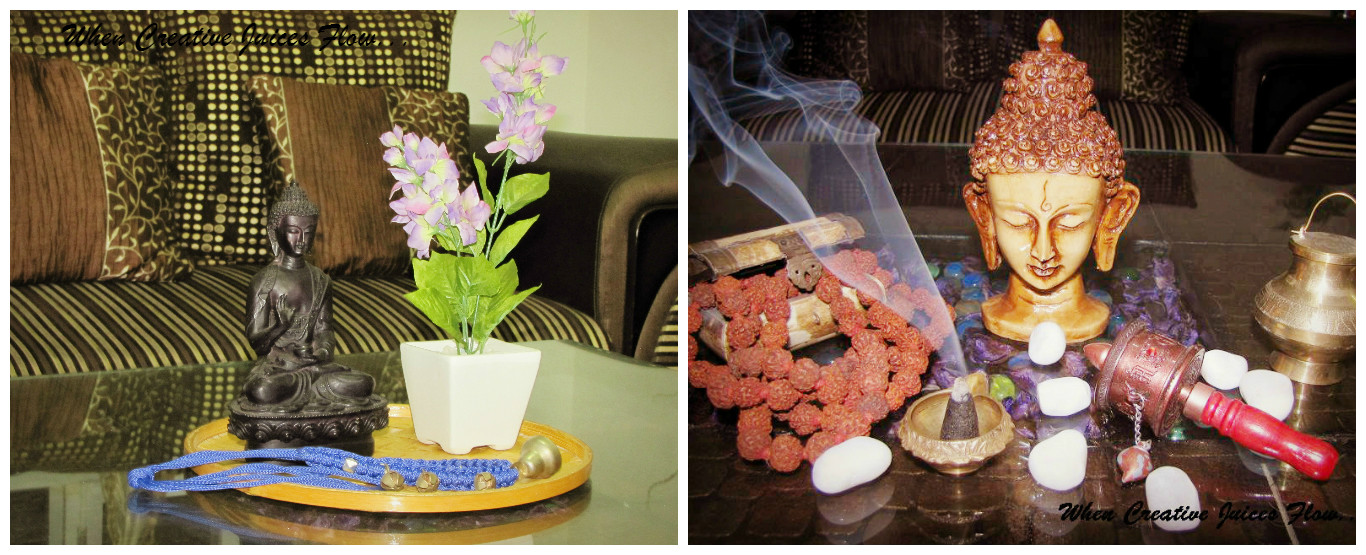
And all together. Whenever something new is made, for few days it is displayed on the coffee table first. 
So, I hope you will like my latest DIY. If you are good in making designs with henna on hands, you can do wonders. So try this and if you like my work don't forget to give a comment. You can also follow my blog at Facebook, here is the link

Sunday 17 July 2016

Matthi or Mathri (A Different Version)

Hello friends...
The recipe today I am sharing, is my mother's recipe. Actually she was making this when we were kids and this got popular among our friends, when we moved to hostel. She used to sent these to hostel with other snacks. Actually don't know it's name, me and my brother had a special name for it, that I can't disclose here *smile*. So it's a different version of matthi with slight sweet and coconuty flavor. 


Ingredients
1- Whole wheat flour - 1 cup
2- Semolina / Suji / Rava - 1 cup
3- Besan / Gram flour - 1/2 cup
4- Coconut (freshly grated) - 1 cup
5- Sugar- 1/2 cup
6- Cardamom / Elaichi (powder) - 1/2 tsp
7- Black Cumin/ Kala Jeera - 1/2 tsp
8- Refined oil - 4 tsp for dough
9- Refine oil (for deep frying)
10- Salt- 1/2 tsp

Step-1
Mix all the ingredients together and knead a stiff dough, using a very little amount of water.
Step-2
On a rolling board roll the dough into a circular shape. It should be slightly thicker than usual roti/chapatti.
Step-3
Cut some shapes using a cookie cutter. By using a knife or fork make some cut marks on the pieces.
Step-4
Heat some oil for deep frying. Then fry the mathris on medium heat first and then on low heat, till golden brown.
Step-5
Once they are cooked take them out on tissue paper. When these are hot they are little soft and tender, but once they come to room temperature it becomes like normal mathri or matthi.
These can be stored in a airtight container for a month. So enjoy these with tea and coffee this monsoon. 

Tuesday 12 July 2016

DIY: Book End Holder

Ohh... this bottle obsession, this is going to stay with me forever and I am going to share my creativity with bottles with you the same way. I have made a bookend with a bottle. We can find so many varieties of bookends, made of wood, metal or any other heavy material. I was in need of it since long. But before purchasing, the DIYer in me thought of giving a try. Few simple steps and it's ready. 

Items Required:

1- A bottle
2- Colours for painting the bottle ( Acrylic or oil based paint)
3- Paint brush
4-A small chunri (I used a chunri that we generally use in worshiping goddesses in India and can get it from any store selling Puja items.) 
5- Glue (I used Fevicol)

Step-1

Paint a bottle in any design. I have already shared some methods of painting bottles. Here I have used a plastic bottle of one litre capacity, as a small bottle will not be heavy enough to stack and hold the books together. First given a base coat of oil based paint and then painted a Bengali bride on it using acrylic or fabric colours. Purposefully I have not given the painting a clean look. You can make any painting of your choice. Let the colours dry properly.
Step-2
Then fill in some sand or soil in the bottle. Remember the soil or sand should have no moisture at all.
Step-3
Tightly place the cap or you can also glue it. Then apply some glue and stick a small chunri. Let the glue to dry for some time. And the bookend is ready.
Engage yourself in some best out of waste DIYs. Then admire your work, feel proud and be happy *smiles*. 

Saturday 2 July 2016

Living the Living Room

Welcome to our home….

I have already invited you to our home, by showcasing the entrance, foyer and balcony garden. Today it's the turn of our living room...

When we are at home, the living room is a place where majority time of the day is spent. Our living room goes through two phases daily. The first one is, organizing the cushions, dusting & cleaning everything, keeping things at proper place and bla bla bla (Man in the house complains that I have a phobia of keeping things organized and systematic). Second is, when the sofas are occupied by us, cushions on the floor, TV in full volume, feet propped on the coffee table and few snacks jar just around for some munching.

Living room, also formally called as drawing room and somewhere that formal setup entered our living room unintentionally. This place of our home is blessed with sufficient space and sunshine. In fact so much natural light that sometimes even with all the curtains down, it's difficult to get a good snap from this angle during day time. 
Above and below, same day, same setting, but with two different lightings. One thing you can see is, I love to keep things always simple and clutter free. 
We love deep rich wood tones, normally and for reasons as well. When we moved to this place, the 1st thing we purchased was the sofa. We went for a dark brown one, considering the high level of dust, thought it will be easy to maintain a darker shade (though my heart was longing for a white sofa then). Then after this whatever furniture entered into our home was in brown shade, to maintain uniformity.


On the coffee table I always prefer to display some vignettes, but limit them to a tray. Because living room is our favorite place to have dinner just in front of the TV. So with one lift & one move of the tray, coffee table can turn into a dinner table.


Though generally I don’t or unable to do major changes in arrangements of my living room, but I keep on changing and displaying different items on the side table and coffee table on weekly basis.


I love to decorate our home with my handmade and DIY items. Other than this have a soft corner for handicrafts. So these items are dominantly found among the decor accessories. 

Hope you loved a tour of our living room *smiles*, will try to showcase you other rooms of our home in near future...